Today I would like to show you how I make dollhouse miniature braided rug.

You will need:
1. A piece of clear glass 12" x 12".
2. Masking Tape
3. Double-sided tape
4. Plastic thread clippers
4. Fusible One-side Stabilizer
4. DMC floss
5. Tacky glue
6. Scissors
7. Iron
All materials can be purchased at any craft stores like Michaels, Jo-Anne, Hobby-Lobby, Ben Franklin, etc...
After you prepared all necessary items,:
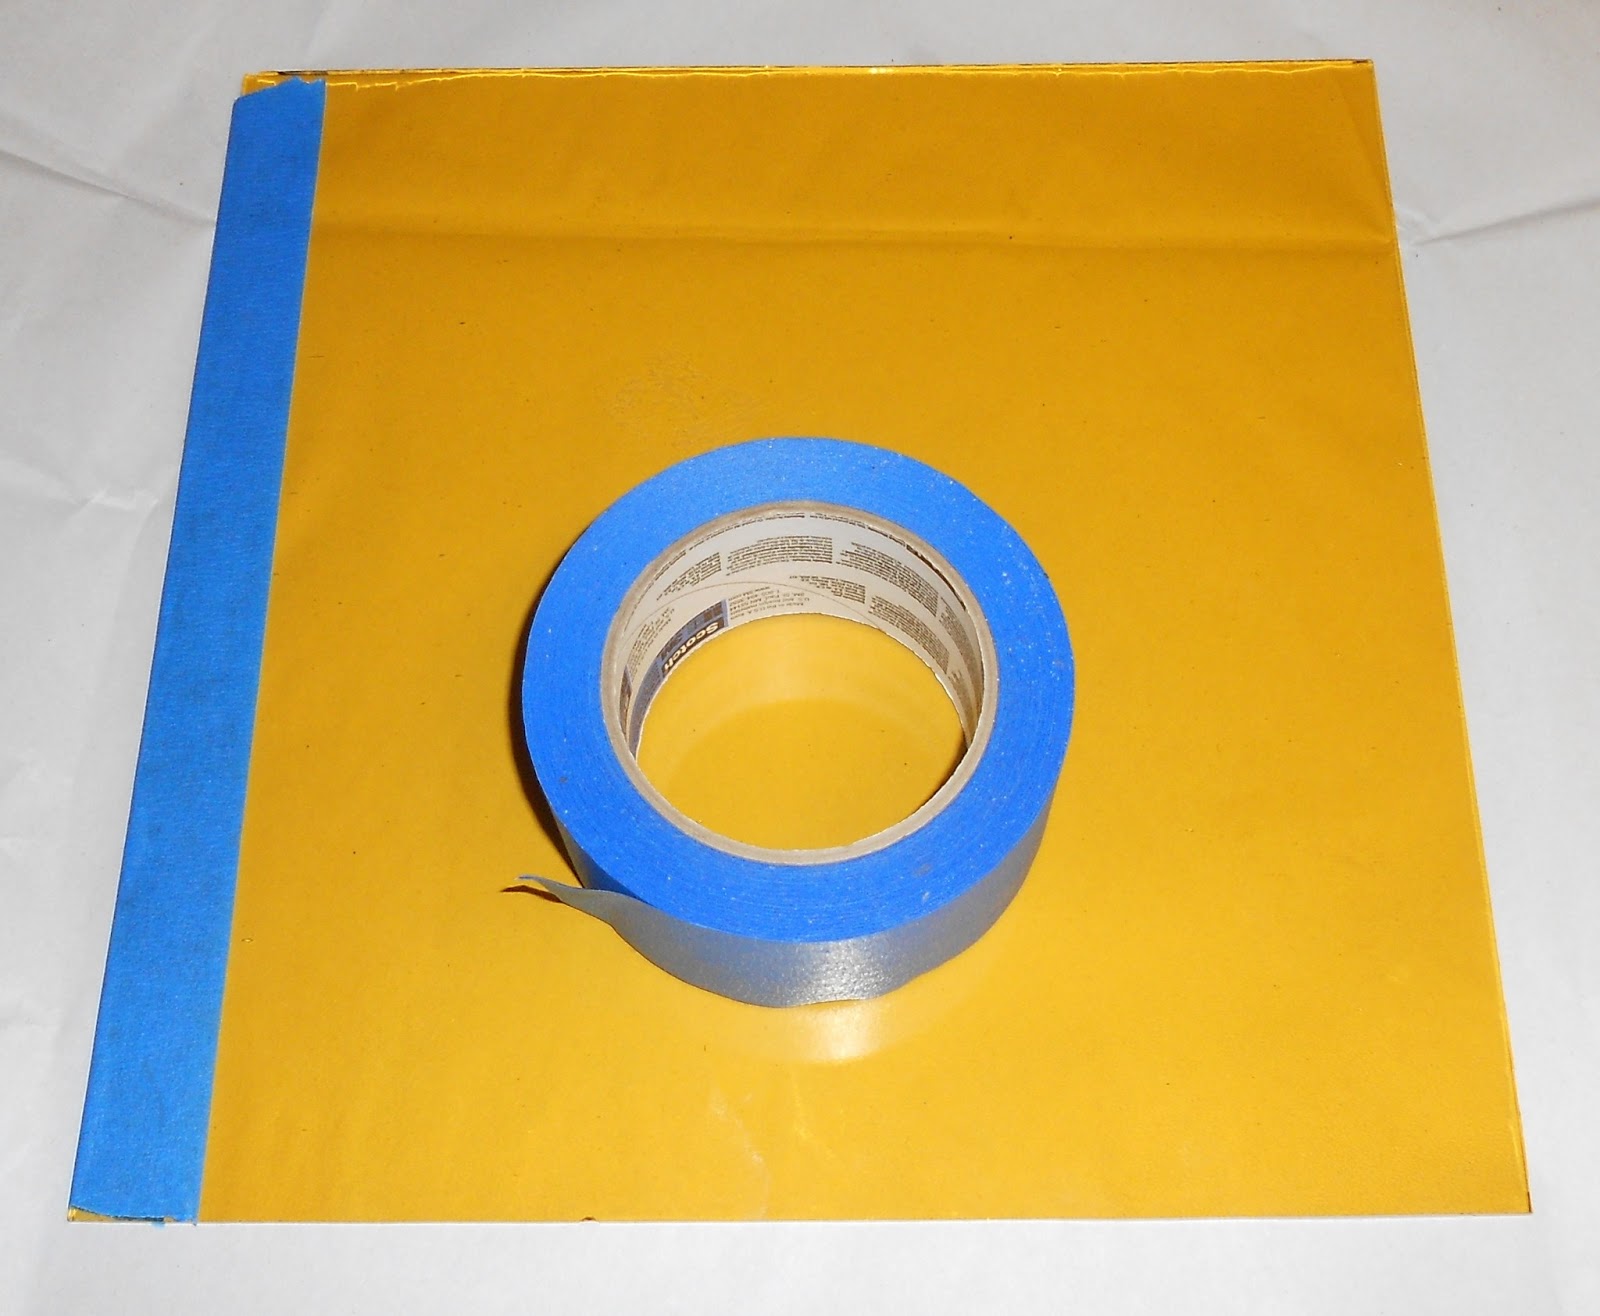
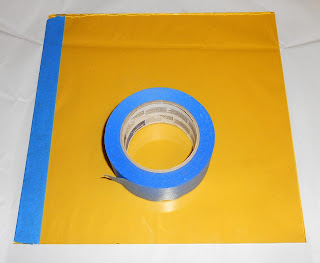
1. Take a piece of clear glass 12" x 12". You can have any size of glass, depends on the size of a rug you braid. I had yellow glass. I will explain later why you need a piece of glass and not a piece of paper, card board or wood.
2. Using a masking tape (in my case it is a blue one) secure all 4 sides of the glass piece to prevent from hurting yourself.
3. Using the double sided tape cover one side of the glass piece between the stripes of masking tape. Try not to overlay the double-side tape over the masking tape.
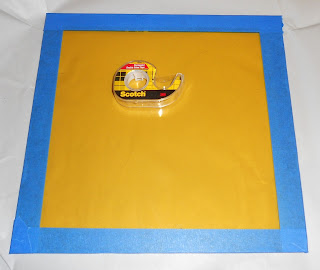
This is how it looks now
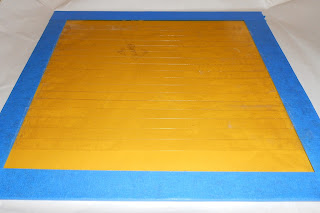
Try not to leave any empty space between the rows of the double-side tape.

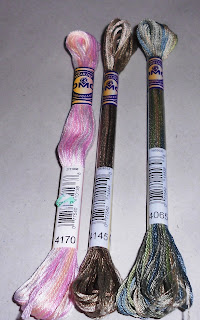
4. Now, take the DMC floss you are going to use for the project.
Unfolded it.

5. Prepare clippers.
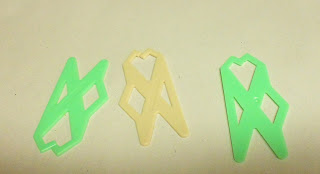
Wind your thread on a plastic thread clipper,

each color on its own clipper.
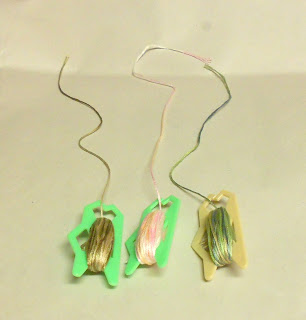
Secure the thread on the clipper.

6. In my project I used only 3 colors. That's why I have only 3 clippers.
7. Put all 3 tails of threads together and make a knot.

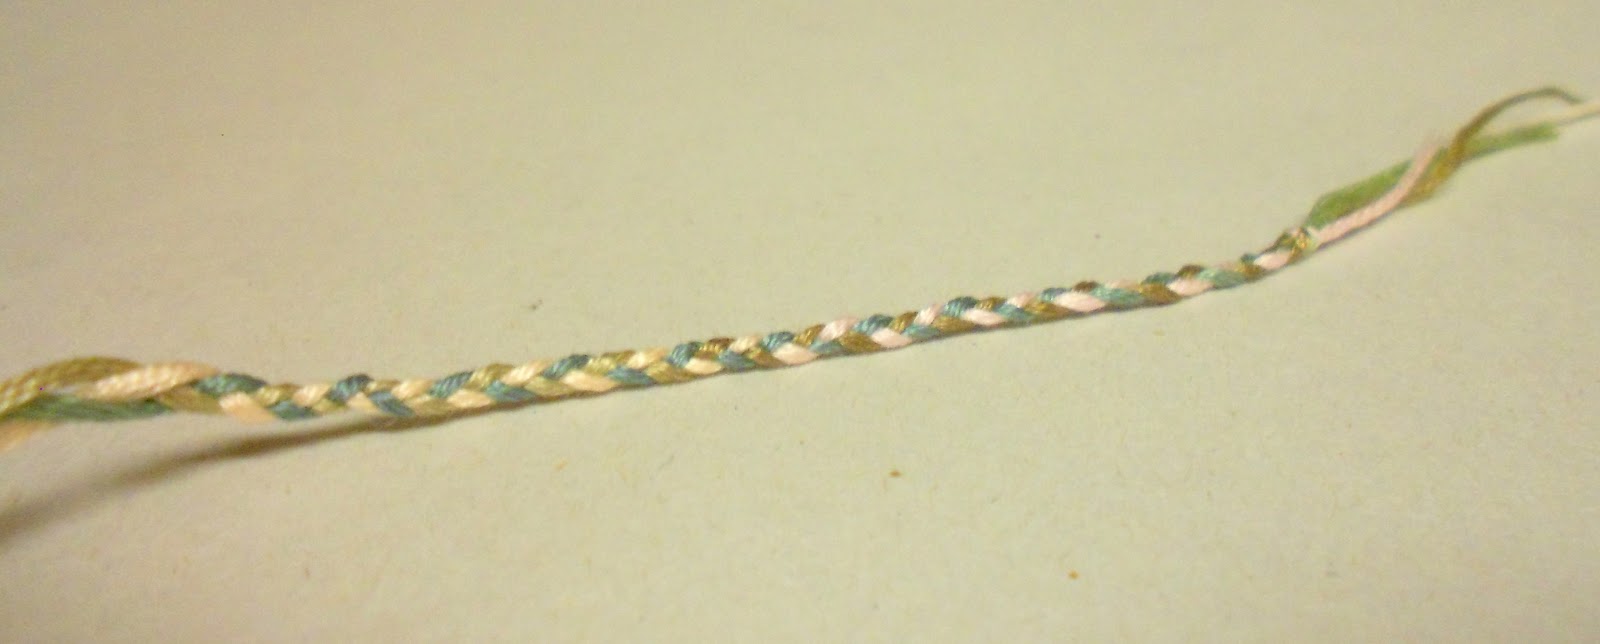
8. Start braiding. There are a lot of different types of braid that are suitable for braided rugs, in this project I used a simple one.

Don't braid neither tight nor loose.

9. After you braided about 5" you need to start winding the knotted end of your braid on a piece of cardboard, size about 2" x 5".

Finish braiding the floss and secure the end with another knot.

It is the most time consuming process in the process of braiding rugs. You can do it while watching TV.
It is ready now:

10. If you use more than 1 color in your project, you need to braid more braids of different shades.
11. Back to the glass piece. Take the end of your braid and stick it to the surface of the glass piece covered with the double sided tape leaving the knot up into the air.

Closer to the glass piece cut the braid and secure the cut piece on the double sided tape (don't use glue!)

12. Depending on the size and shape of your rug, secure 1" (for a round rug) or 1,5" (for the oval rug) the braid on the glass piece.

13. Start placing the braid around this straight piece, one row after another.


14. After 2-3 rows are completed, take your glass piece and turned it upside down or, as I do, take it above your head and look at the rug from another side of the glass.

It will show you if you made any mistakes so far or not, for example, if you see the space between the rows, you still have time to correct it. Sometimes rows of one side of the rug look tighter then the rows from another side.
15. Finish your rug.

16. To secure the end of the braid, placed it on the top of the previous row at the place when the thread ended and secure it with a little dab of Tacky glue.

After it dries you won't be able to say where it ended up.

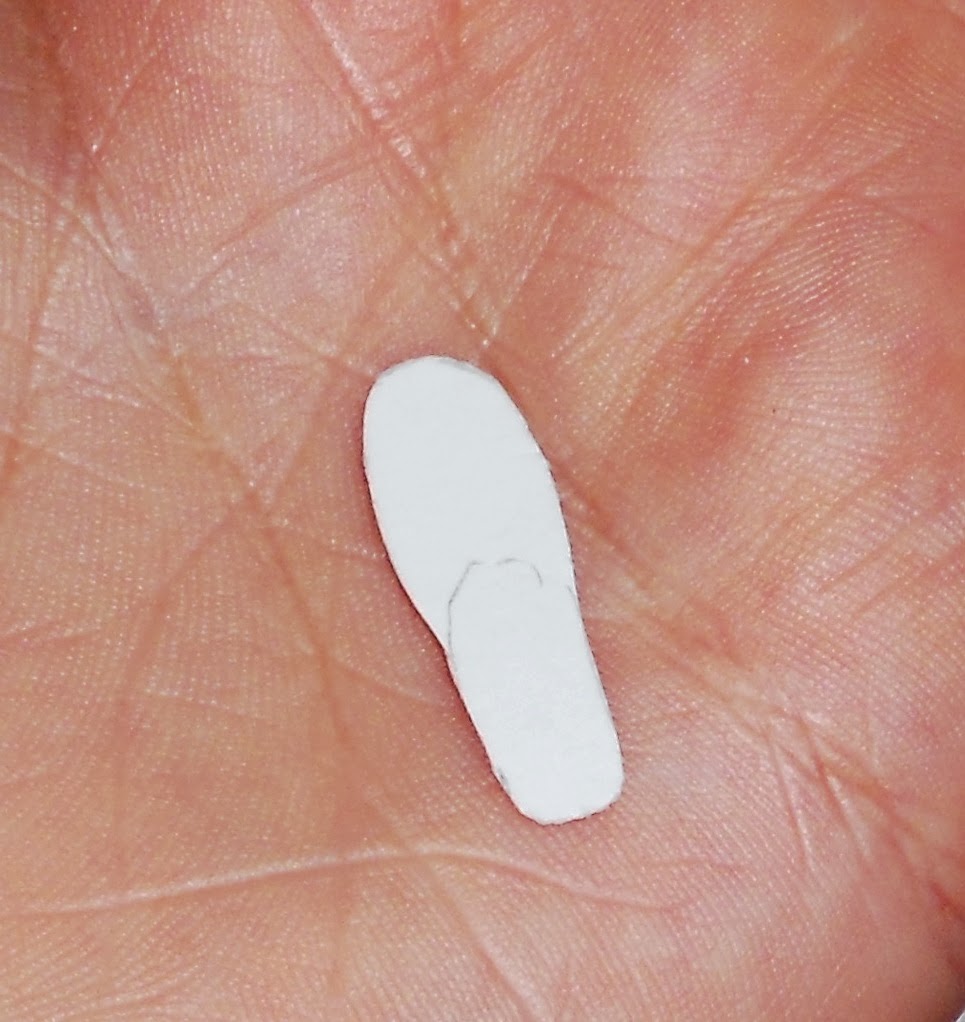
17. Take a piece of Fusible One -Side Stabilizer (pick the finest) bigger size than your rug

and place it on the top of your finished rug with the sticky side.

18. Using hot iron (be sure you don't use a steamer), iron it.

Be sure to iron the place where the edge of the rug is and the middle of it very well.

19. Let it cool down. After that gently start pulling it up.

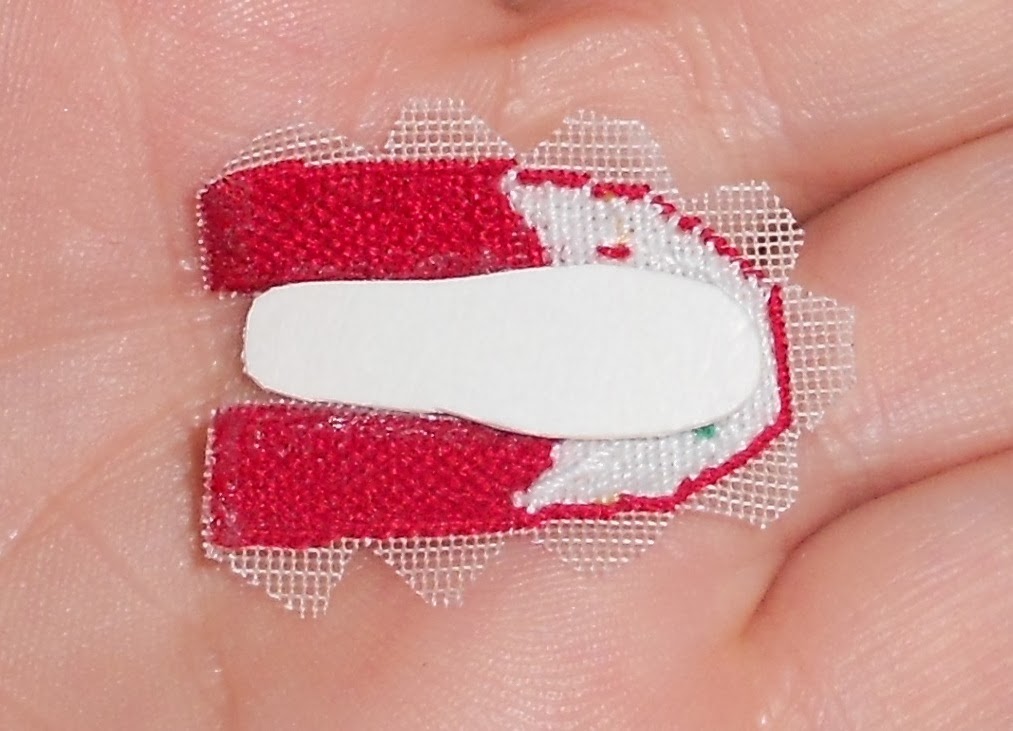
20. Take the scissors and cut around the edges of your rug.

21. To flatten the rug better, you can cover its front side with a piece of cotton and iron again. Let it cool down again.
22. Your rug is ready for a display.

As I said, my rug was made only with 3 colors. If you decide to use more than 3 shades, there can be a question how to secure the ends of the thread to add to the design. In this case, refer to step 16 and repeat it as many times as you add a new braid.
At the end I would like to advice to keep your glass piece in the box to prevent it from the dust.
I hope this information was useful and easy to follow.
Happy braiding!
Natalia