A Bavarian village Leavenworth, that is located in Chelan County of Washington state, is a perfect gateway for a weekend.
Being there so many times never have had an opportunity (for some reasons) to visit a Nutcracker's Museum till yesterday.
A big Mouse Nutcracker meets you at the front door.
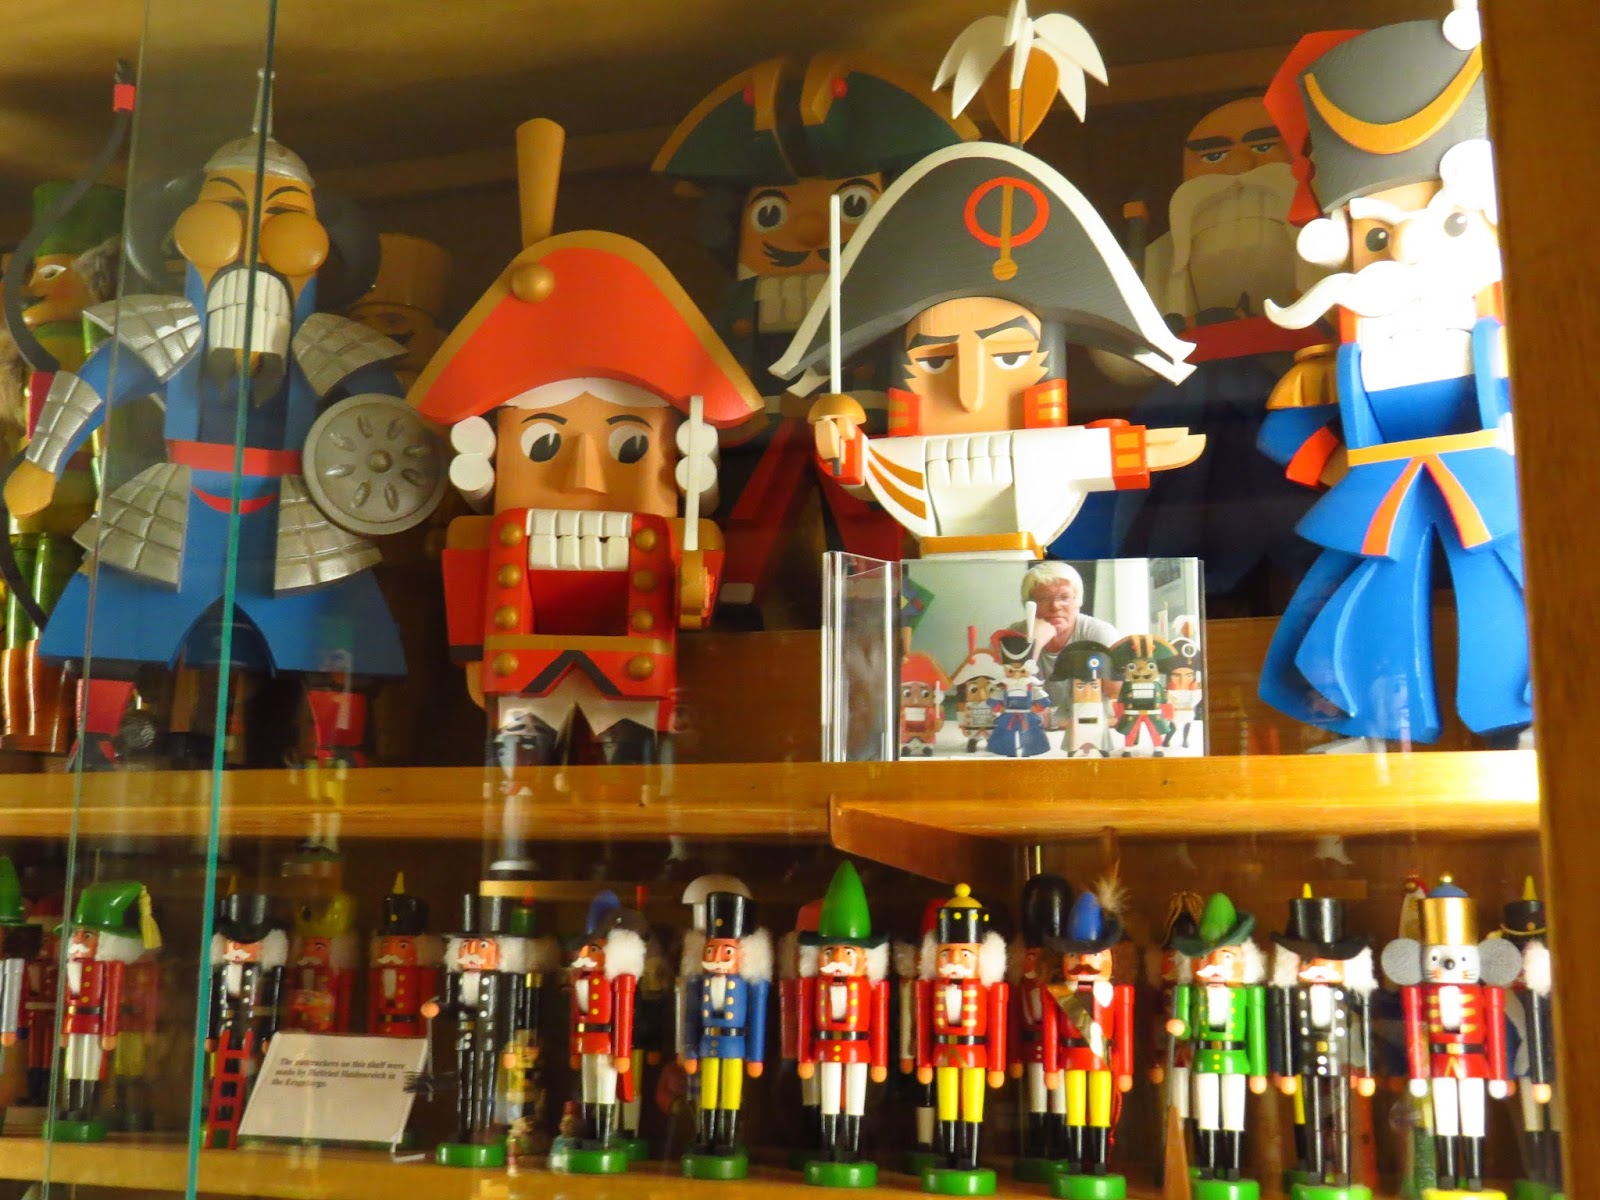
Then just wall shelves full of thousands of nutcrackers of all sizes from all over the world and centuries. For example, this nutcracker was displayed in a pub in Amsterdam from 1850 to 1950 when the building was remodeled, it was carved in Germany.
This Erzgebirge Miner was carved in Germany as well, in the 19th century. Note the candle that miners carried to determine if there was a sufficient oxygen in the air.
There are shelves full of mechanical nutcrackers for those who are interested.
No doubts that miniature nutcrackers attracted my attention first. Unfortunately, not for sale...
Working miniature mechanical nutcrackers
This pyramid was handcrafted in the Erzgebirge and was a gift from Erstes Nussknackermuseum Europas (First European Nutcracker Museum) located in Neuhausen, near Seiffen. The 3 small wooden nutcrackers in the pyramid are working nutcrackers.
More lovely mini nutcrackers
This incredible carving of a nutcracker only 5.1 mm was done by Herr Gunter Werner Gotz of Germany. Mr. Gotz made it out of a toothpick. He had to make 9 tries before completing it. The mouth DOES open, but a mechanism through the mountain operates it as a finger could use too much of pressure. Can you see it?
Another striking miniature and the smallest angel that I've seen (Have you seen any angels?) is the next one. This tiny little angel also was carved by Mr. Gotz and was in Guinness Book of Records in 1999.
It can be seen through a magnifying glass only
The nutcracker at left was made by John Bruce of Bruce's Woodworks of Utah. The Match Stick Nutcracker actually works. Then, his nephew Greg Bruce of Washington had to try his hand, and made the tiny one left of the match stick. The "Running Nose" was made from the nose of a wooden toy soldier nutcracker produced in Bruce's Woodworks. The engraved nutcracker, made from a single piece of cherry wood, was carved by Mr. Bruce as a gift to the museum.
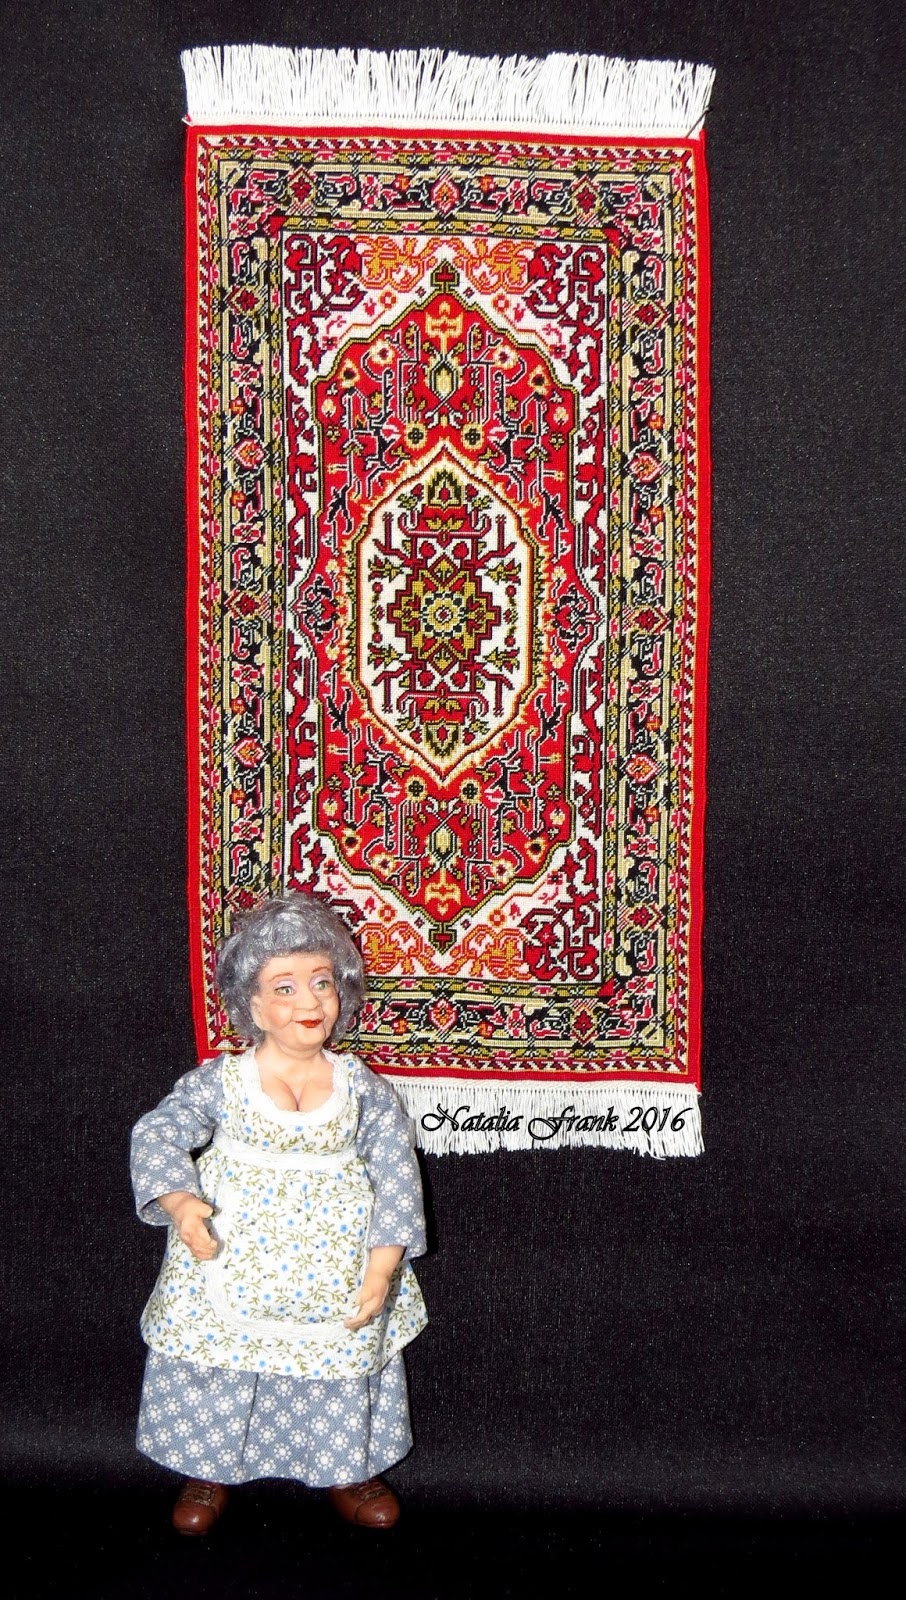
The nutcrackers at the museum are also presented through cross stitch
and needle lace
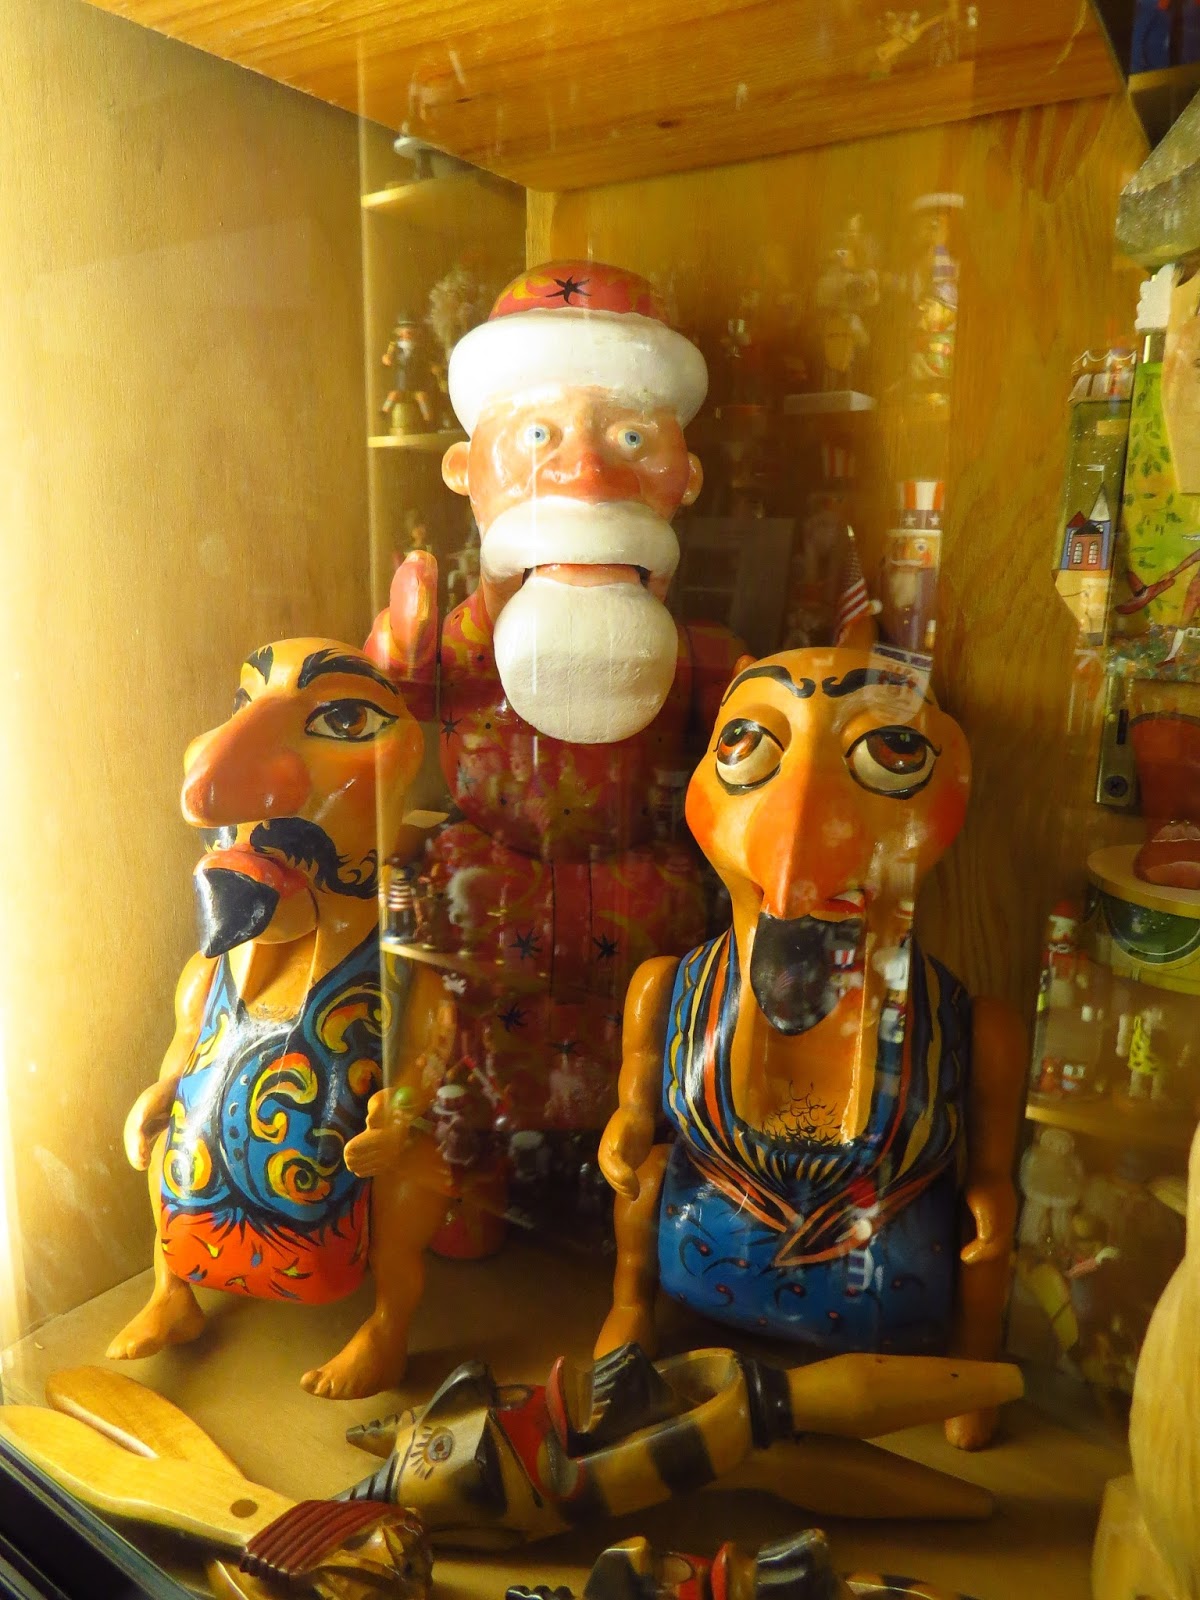
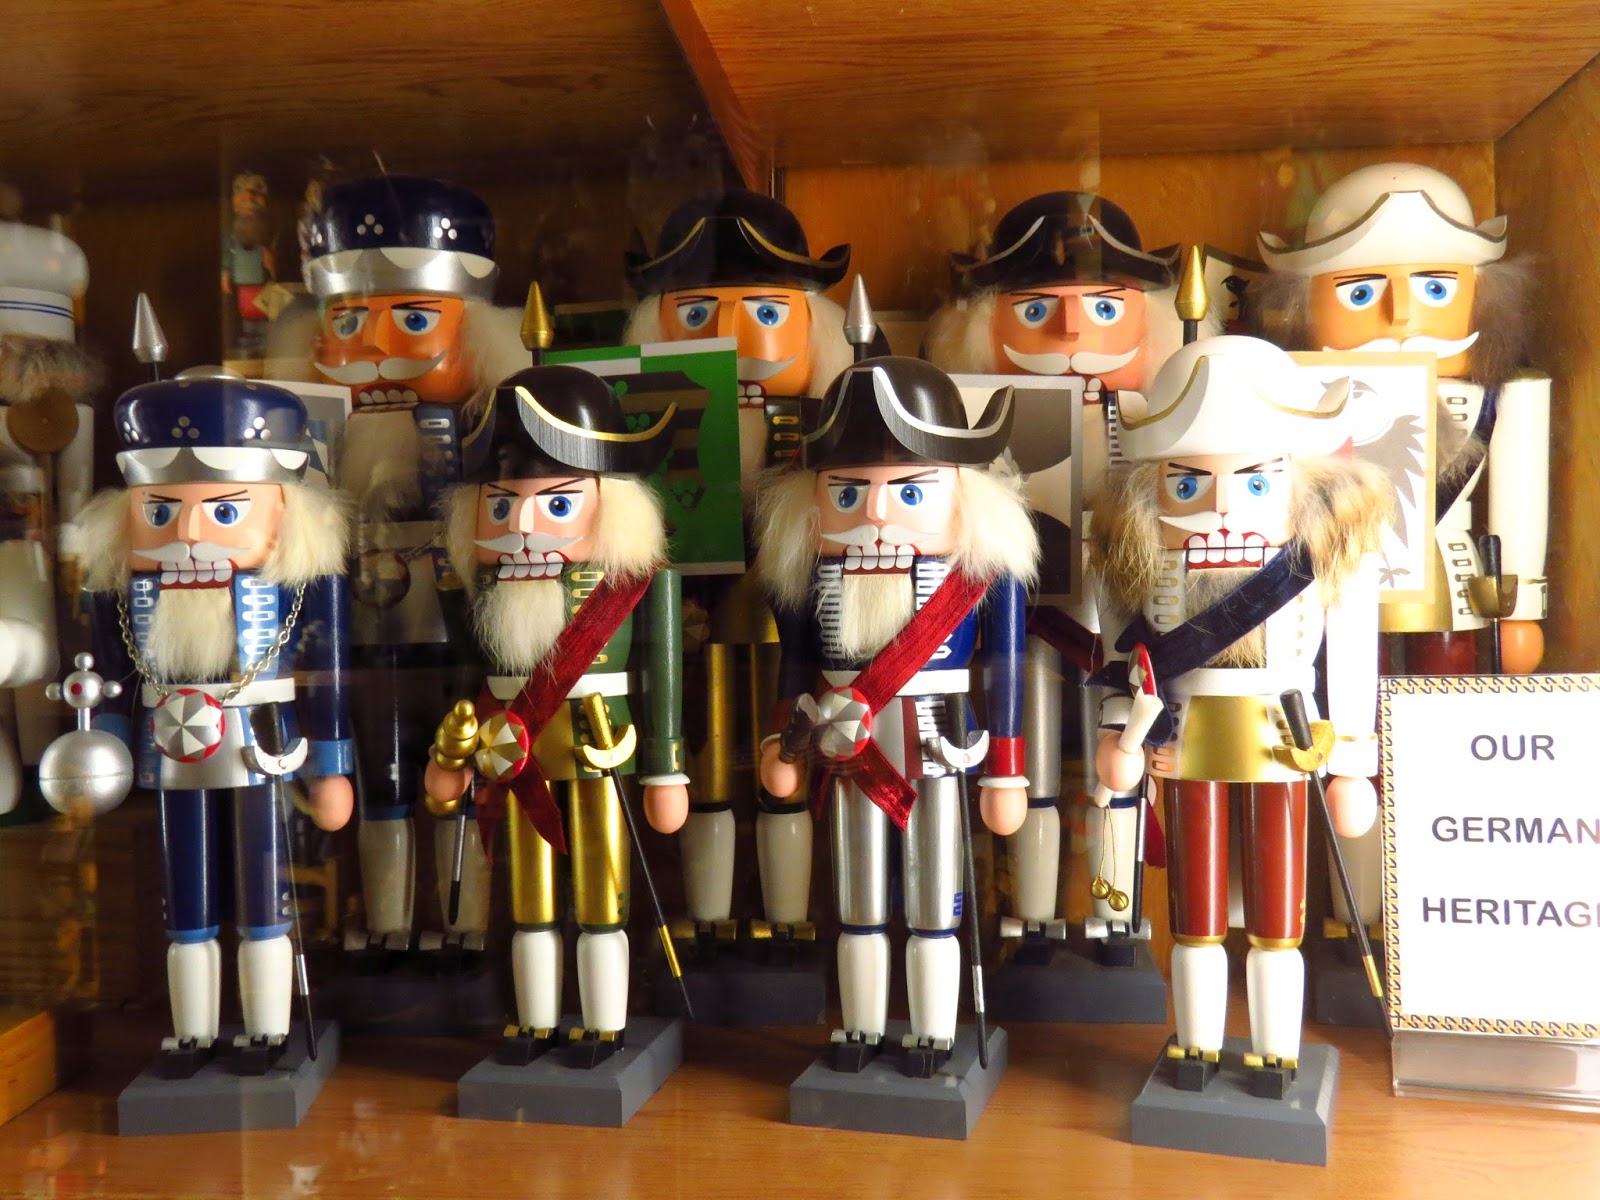
...but enough talking. Please, enjoy the rest of pictures of a fine collection of nutcrackers from all over the world.
This is my favorite - Shakespeare Nutcracker
and one more that needs a comment...
This Nativity was carved for the museum by Weichelt in teh Erzgebirge. Mary and Joseph are nutcrackers. The base is in 2 parts and the figure bends back to reveal the place for a nut. As a figure bends forward the nut is cracked.
Have a wonderful evening,
Natalia