
Vanessa found an abandoned building that she decided to restore and use to display her fashion collection there. When she went through her trunks full of beautiful dresses she found this old Victorian Civil War Era antique travelling bag.

Today she will show you the way to make one in a case if you would like to have the same Victorian Travel Bag in your collection.
The history of handbags and purses provides a fascinating insight into both men's and latterly women's developing need to carry a range of items about with them as they walked around their houses, and traveled away from home.
A bag would enable them variously to secrete small valuables, such as jewels and money; to attend to personal hygiene and comfort, with the aid of such as a comb and a mirror; and to engage in a number of pleasurable duties, activities or pastimes of daily life -like writing a diary, doing some knitting or tatting, or playing a card game, to pass time on journeys and when staying away from home, or just when moving to another wing of the house or around the family estate.
In the Victorian period an extraordinary variety of types of bag appeared, in fabrics which matched or co-ordinated with different outfits, and which suited different fashionable styles of dress, and demonstrated different needlework and knitting skills. In the late 19th century flat square or circular bags were quite literally canvases for a range of decorative designs in woolwork and chenille, beadwork and ribbonwork, and ladies' magazines described how to make them.
For this project you will need:
- black fine silk
- red fine silk
- DMC or Gutermann silk floss in green, blue, red, mauve, pink, yellow, old gold
- silk ribbon (2mm), green color
- needle
- scissors
- black fringe
1. Make a pattern. You chose the size of the bag. Use dummy or a doll to make a desirable size of the bag.


It should have a shape of a dumbbell.

2. Cut a 10" x 10" piece of black silk (this piece should fit the needlework frame)

and baste the shape of the pattern with white thread on the top of fabric


Do the same bellow

This is what you have now:

Stretch your fabric tightly on the hoop

The embroidery is done before you cut the panels out. The embroidery is done on the end of each panel.
I don't have a pattern for the design you see on the image, I did it free hand and I used the following stitches:
- Spiderweb Rose (or woven wheel Stitch. It is a form of needleweaving that is worked over a grid of foundation threads and can be used to fill many different shapes. In this design I used this stitch to form the roses. A grid of foundation consists of 3 threads.
Lay 3 short foundation stitches as shown.


Weave under and over the straight stitches.
I used red color for the first rose


Weave till you cover all 3 straight stitches.

When you are done, take the needle behind the work, make a knot and cut the thread off.

Make a second rose in pink.

and the third rose in mauve color, using the same Spiderweb rose stitch.

Next I used yellow silk floss and Lazy Daisy stitch to make flowers. Make a loop and tack it down.


I used Straight Stitch and green silk floss to make little stems around the fowers

I added French Knots in old gold color inside each rose. Encircle the needle one or two times with the thread to make a knot.

I added buds in blue color to each stem using the same French knots.


Then, using 2 mm green silk ribbon, I made leaves with Lazy Daisy and Straight stitches.

This is how your work looks at this point.

Start working on the second panel. You need to embroider another end of it. I use different colors for the roses this time. Use your imagination, it is not necessary to repeat the same order of the design.

Congratulations! Embroidering is done!

You think the hard part is over? Actually this is where the confusing part starts! Ready?
3. Cut 2 panels of the red fabric (in my case it is pink)adding seam allowance.

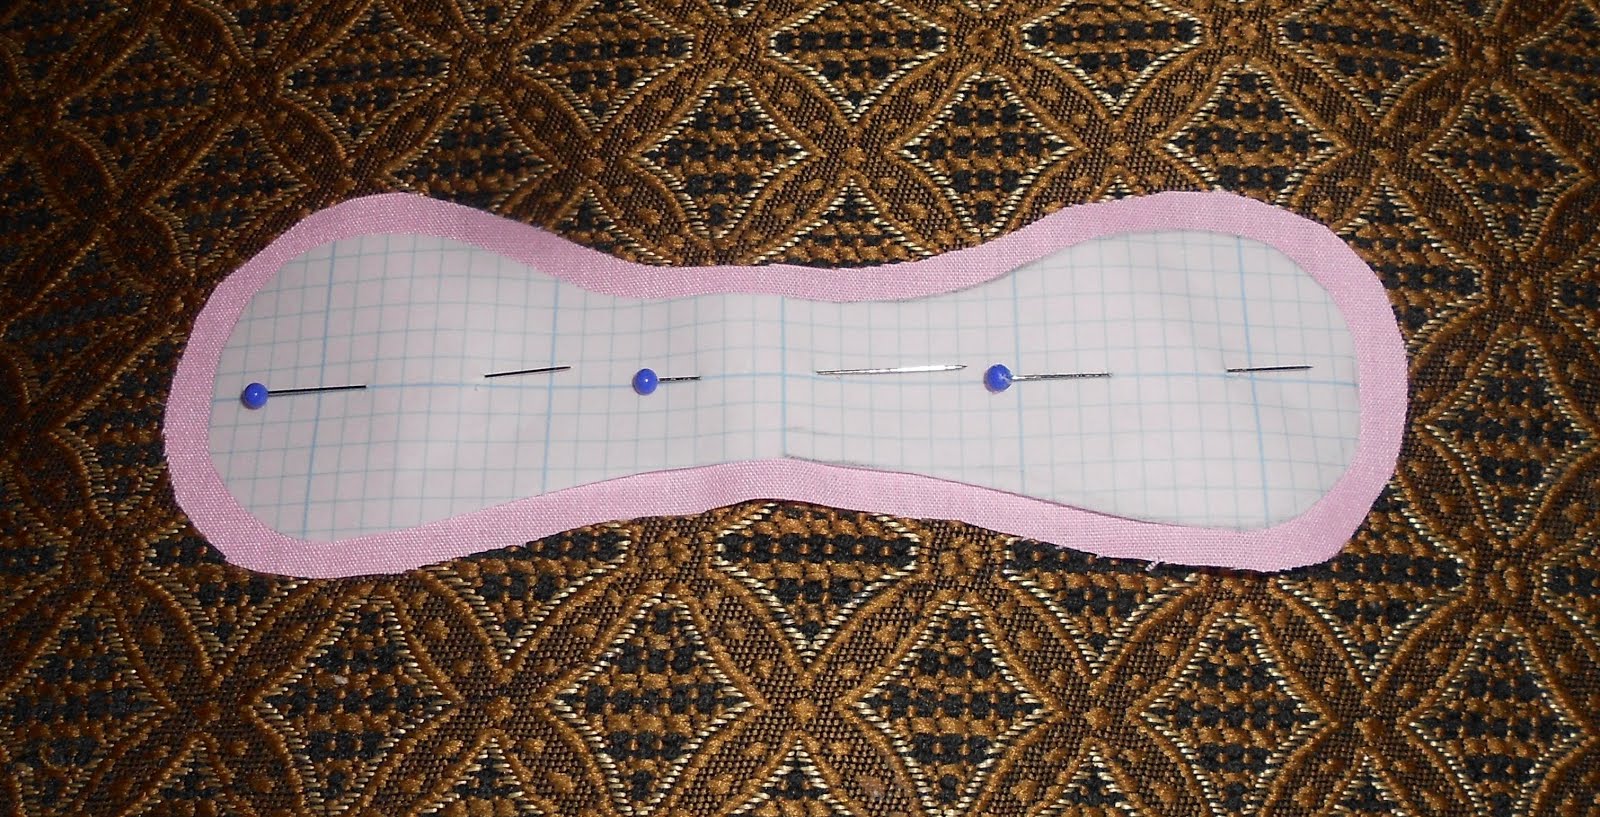

DON'T REMOVE THE HOOP YET!
4. Place a red (in my case - pink) panel exactly on top of a black embroidered panel, WRONG SIDES OUT!

pin together, mark the slit, top stitch

and cut the slit open

5. Pull the red (in my case - pink) panel through the slit and press it very well:


6. Baste the second red panel to the 1st one (don't catch the black fabric) and stitch 2 panels together.

7. Baste the 2 black panels together.

WRONG SIDES OUT with the embroidered parts on each end - not one on top of the other) and stitch the 2 panels together, leaving an opening for turning.

8. Cut the seam allowance of the black panel down,

remove the white stitches


and turn the bag right side out through the opening. be very carefull if you use the scissors.

9. Hand stitch the opening closed, press the bag.

Front side with slit

back side

Now bend it with your fingers

Something is missing, true?


I found Sandy's lace in my stash

and attached it all over around my bag. Now it has a finished look.

I hope you enjoyed the tutorial in spite of its length!
happy and creative weekend!
Natalia
http://www3.hants.gov.uk/dress-and-textiles/bags-collection.htm


