

First of all you need to find a teacup and saucer. The size of the teacup depends on your project and what scene actually you would like to make inside. It is not necessary should be a house, it can be any other scene. I was looking for a very beautiful flower design, but then I changed my mind. I didn't want too much colors on my teacup and I thought that saucer will be decorated and covered and nobody will see the design. It is also doesn't matter where your teacup was made in. As you see, everything is a just a matter of your preference. For example, for my other Cup Project I am thinking to use a deep bowl.
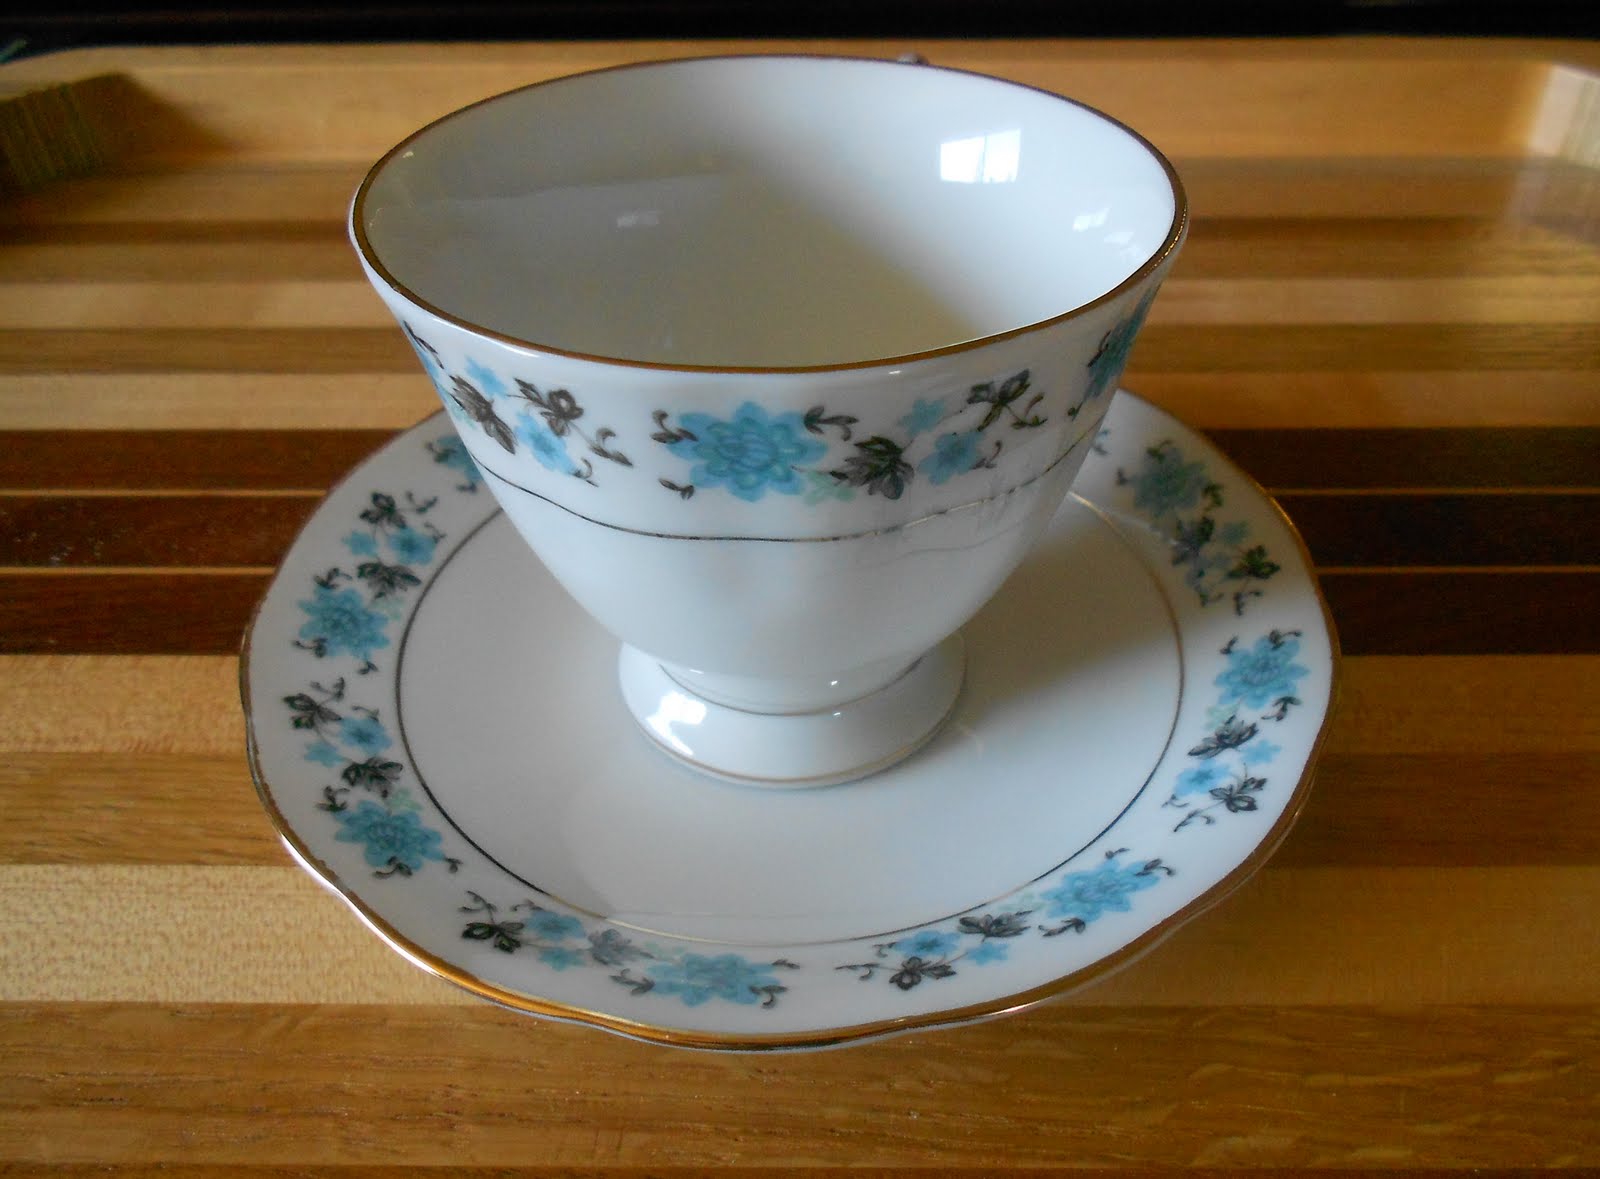
This is how my teacup and saucer looked before

and glue it, I used 527 Multi-Use Glue (you can buy it at any Craft stores)

Let it dry.
While you are waiting for your teacup to be glued, make a template for a ground. I cut a circle out of paper that had an approx. size of the saucer with a little "tongue" that goes inside the cup and symbolize a ground for the house.

Now, if you look at the next picture, you will see, why I asked you not to glue the handle to the saucer:

Trim the edges of your template, cutting as close to the edges of the saucer as possible, making it even.

Take a chip board

trace your template on it and cut it out

try it on your cup (it should be glued already) and trim it if necessary

Then, paint this chip board in dark green and let it dry.

While it is drying, take a plastic bag (I used just a bag from a grocery store), put some Fine Turf (I used Green Grass),

spread it evenly on the surface

OK, back to the green chip board. Dried? Good! Now you will need General Purpose 45 Spray Adhesive, or you can use a hair spray.

I would advise to go outside, or in the bathroom and spray that dried green piece of chip board with Spray Adhesive (or your hair spray). After that with a sprayed surface put your chip board in Fine Turf and push it all around. I found out that sprinkling green ground cover over doesn't help. Shake the excess, then spray again and "sink" it in Fine Turf again. Shake the excess. Let dry.

Take you green ground cover and glued with 527 or E6000 glue to the saucer. Put it aside.

Time to build a house! Here is the templates, refer to the squares:

Cut house front out of wood - be sure to watch the grain of the wood and make your first cut across the grain - then cut the gable in the front. Cut the top angles of the side pieces - save the triangles to use as the roof on the gable at the front of the house. Decide where you want your window and cut the opening before you assemble the house - remember again to make the cuts across the grain first.

Glue the sides and front together
front view

back view

side view


Aren't you tired yet?! If not, let's decorate your house now, and it is all you, without my help. Here some tips for you though:
Stain the frame of the window to match your house trim. Make the windows panes in window by painting with thinned Elmers glue over wax paper. Make take more than one coat for a complete pane of glass. Paint the background color of the house and stain the trim.


Cut and paint shingles (I used chip board).


Dry fit the house to the yard and then glue into place. Add front stoop over the sidewalk where your door will be.


You are done. You are on your own now!
As for me, I added:
vines on the walls and roof, I made a flower bed (on this picture you don't see flowers yet, they haven't grown up yet). I used Green Poly Fiber that has been sprayed and covered with Fine Turf


I also "planted" bushes, flowers around and a Birch.


I glued the Poly Fiber on the top of each brench


I added figurines, and... my teacup is still not finished, because I will add more little details around to make it more alive...


I hope it helps! Have a fun!
27 comments:
Natalia, this is so great! I'll have to give this a try sometime. =) Thanks for the tutorial!!!
genial!!!!! muchas gracias por compartirlo!!, es de lo mas original que vi!!
Very pretty! Thanks for letting us see how you made it!
Un tutorial magnífico y el resultado ha quedado ideal para hacer un original regalo. Gracias por la idea. Un saludo, Eva
Thank you very much for the fantastic tutorial. Its a wonderful scene.
Hugs Maria
Muchas gracias por compartir el tutorial! Es grandioso
Un abrazo
It is beautiful, Natalia, my mother has a tea set just like this one, halfway across the world!!!!
Great idea! I love miniatures and porcelain cups, I have a big collection (english bone china especially:)
I love this beautiful, romantic world in little cup.
Hugs
Magda
Great tutorial! Thank you!
So cute!!! I must find a spare cup. Thanks a lot, Rosanna
Que bonito!! gracias por el tutorial, esta ideal!! Es una gran idea para realizar un regalo.
Gracias.
Besos.
Ana.
I really enjoyed it! Thanks for sharing.
Hugs
This is a really great tutorial!Thank you for sharing with us!
Ina :)
Amazing project!!! Love the tuto, the result is so beautiful,miniregards.
Wonderful! I like this idea. Thanks for the tutorial.
Bye Faby
thank you I have a tea cup I can use!! great!!
What a wonderful tutorial. Thank you.
Hugs from Craftland
Thank you very much for this clever idea and this fantastic tutorial. I really enjoyed your little story in the previous post!
Greetings
Birgit
Hi Natalia - came to look at your hair wreaths and stayed to browse and here was this delightful tutorial! I won a scene in a teacup years ago at a NAME Houseparty and it's one of my special treasures. I've often pondered making one myself, but I think it's just too tiny and fiddle-y for me. You've done a fantastic job on yours!
Mary Lynne
Én még nem láttam olyan jó ötlet! Köszönöm a tutorial!
Anda
What a wonderful tutorial.
Thank you so much.
Greetings
Melanie
Thank you for the fantastic tutorial.
Greetings
Melanie
esto es realmente hermoso gracias por el tutorial
Simplemente maravillos.Una idea muy original.
Gracias por el tutorial.
Besos.
Este tutorial es genial!!!!!!!!!!!!Que ideaaaaaaaaaaaaaaaaaaa.Bravo,bravo,bravo.Me ha encantado.Fina.
That's wonderful idea.Thanks a lot.
excellent tutorial, Thank you!
Post a Comment