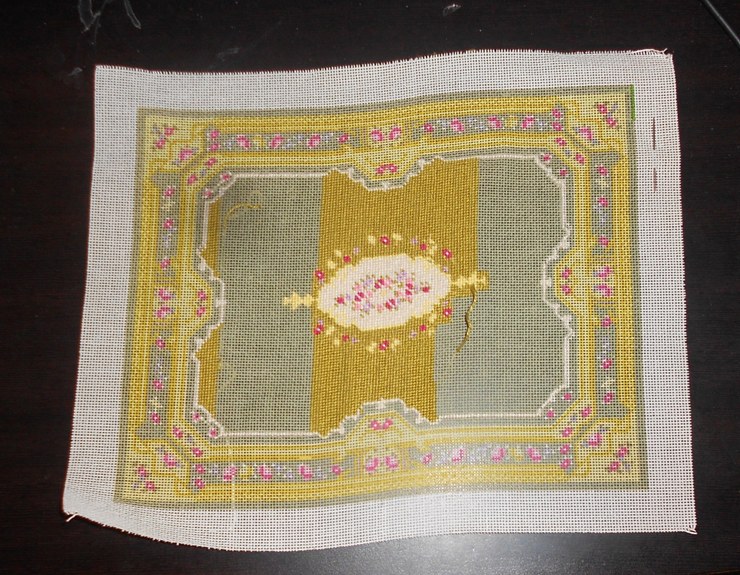
In my opinion the dollhouse miniature towels that were made in the previous tutorial are out of scale, they look big and heavy, they are hard to drape.
We used 32 count fabric in purpose, to let you practice a half-cross stitch, to get the felling of needlepointing in miniature. Have you got it? Are you ready for another challenge?
To reach the realistic effect, we all are striving for finishing the miniature in the scale as close as possible.
What if we use a fine piece of fabric, like voile, to make our next towel? You might want to ask me how on the earth we are going to stitch on this closely-woven fabric?
There is a wonderful product that will allow us to do it: SILK GAUZE! We will use silk gauze as a waste canvas.
Welcome to my new Tutorial!

Place the fabric in an embroidery hoop

Cut a piece of 40 count silk gauze approx. 1.5" x 2" and baste it over the main fabric to provide an evenweave grid for stitches.

Try to align the canvas grid with the wrap and weft of the background fabric as close as possible.

To begin, select a color and separate the strands of the floss (silk). Only one strand is used in this project. Make a waste know as it was described in tHe previous tutorial.


After stitching for about 10 stitches, take the needle behind your work, pull it
and cut it as close to the stitches as possible. DON'T run the needle under the stitches on the back of the fabric!


Keep stitching the design

When it is time to switch the thread, finish the working thread by taking the needle behind your work and running it under through the back of several stitches.
To start a new thread repeat the previous steps


Finish stitching the whole design. I used Continental and Half-Cross stitches.

After the design is complete, remove the tacking.

This is how it looks now

Cut the access of silk gauze around, if any, and start unraveling any waste canvas (silk gauze) that aren't covered by stitches

Then carefully remove the canvas (silk gauze) threads one at a time

Work on the horizontal lines first. This is how it looks like now

Now start working on the vertical lines taking one at a time out.

Phew! We are done! This is the finished stitching after silk gauze, used as a waste canvas, was unraveled.


Now let's make a towel.
I use an air erasable fabric marking pen to make marks for my towel
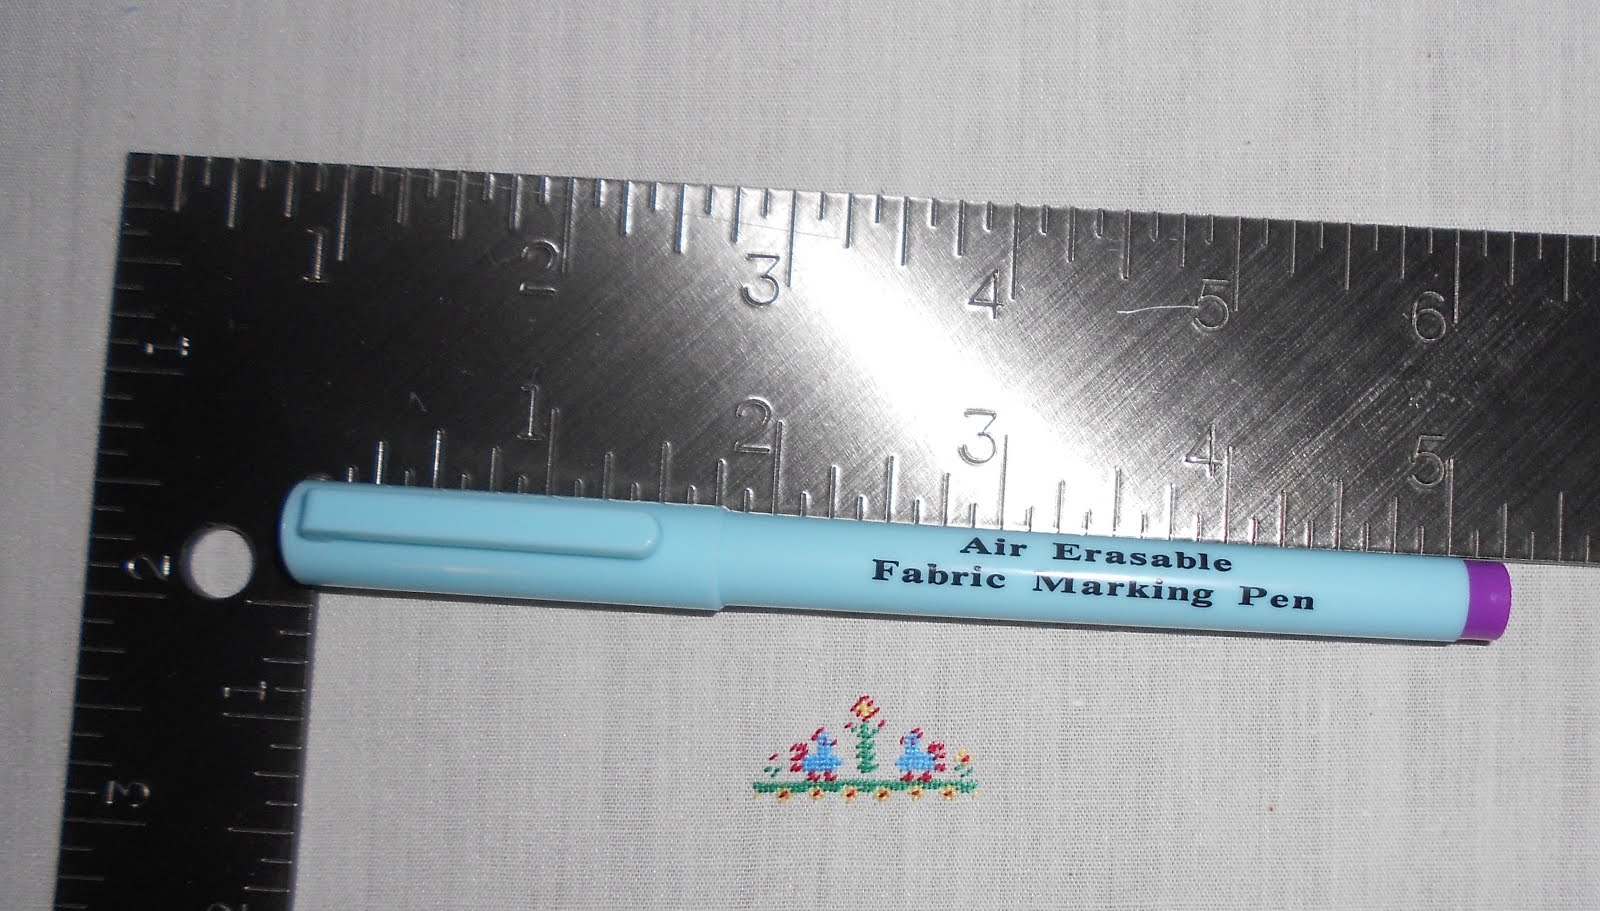
Take the fabric with the stitched design from the frame and iron it. Measure the desired length of your towel approx. 3.5" - 4" (depend on how long you want your towel to be). If the width of your completed towel will be 1", leave a half of inch on the each side.
You see those 4 little dots on the fabric made by the air erasable pen?
Don't worry, they will disappear.

Cut the piece out

Finger press (squeeze with your fingers) both sides of the towel

The edges of both sides should touch each other. Iron it.


Start working on the fringe carefully removing the fabric threads one at a time till you reach the desired length (about 1/4")

This is how the edges of your towel look like now
To finish the towel we will use Wonder-under stripe (you can buy it at any fabric store or on-line)

Cut a piece of Wonder-under stripe the length of the towel excluding the fringe, and with paper up iron it in the center of the back of your towel

Pill paper off

Iron each side of the towel to the center. DO NOT TOUCH THE WONDER-UNDER WITH YOUR IRON!


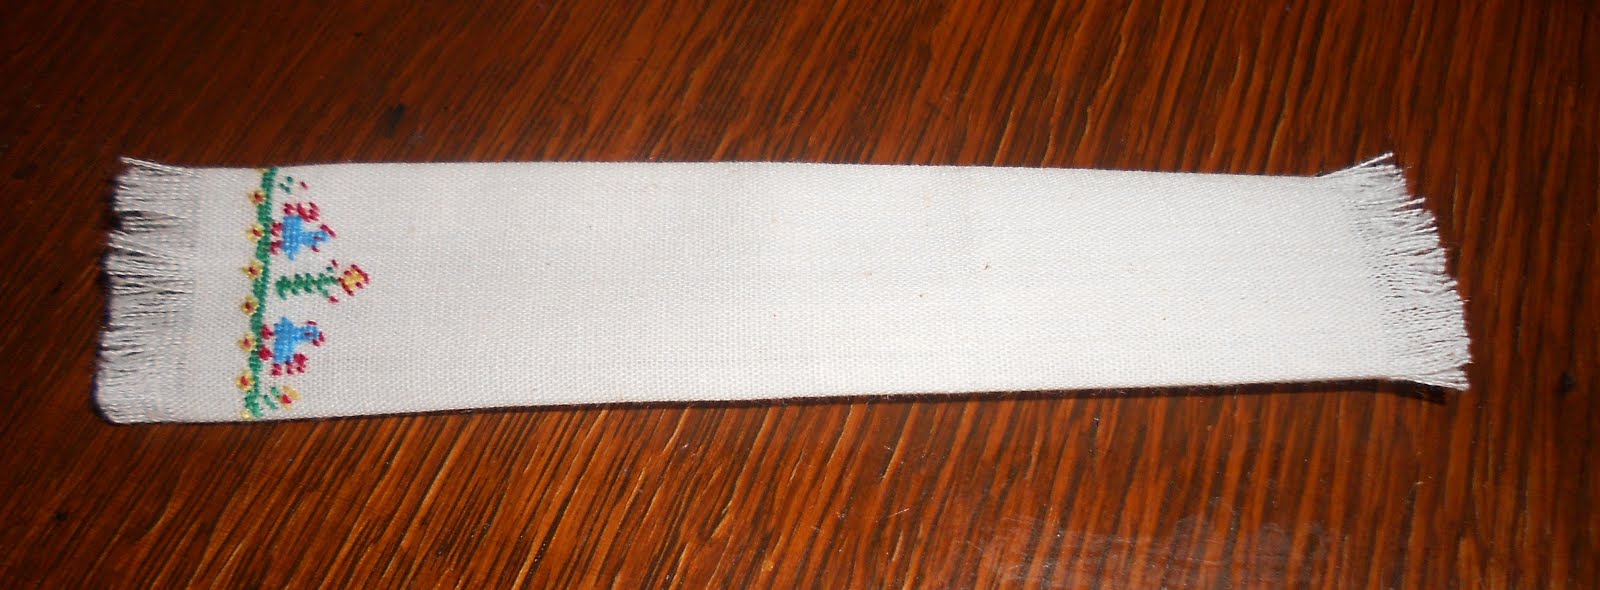
Your towel with fine stitched design is finished

Now you can folded in half or drape it.

For my scene I needed it to be folded

Look at the picture below. Agree that the towel with roosters look finer and closer to the scale!

Happy toweling!
Natalia