Saturday, January 19, 2013

Tutorial: Towel on the Voile Fabric. Part 2


In my opinion the dollhouse miniature towels that were made in the previous tutorial are out of scale, they look big and heavy, they are hard to drape.

We used 32 count fabric in purpose, to let you practice a half-cross stitch, to get the felling of needlepointing in miniature. Have you got it? Are you ready for another challenge?

To reach the realistic effect, we all are striving for finishing the miniature in the scale as close as possible.

What if we use a fine piece of fabric, like voile, to make our next towel? You might want to ask me how on the earth we are going to stitch on this closely-woven fabric?

There is a wonderful product that will allow us to do it: SILK GAUZE! We will use silk gauze as a waste canvas.

Welcome to my new Tutorial!


Place the fabric in an embroidery hoop


Cut a piece of 40 count silk gauze approx. 1.5" x 2" and baste it over the main fabric to provide an evenweave grid for stitches.


Try to align the canvas grid with the wrap and weft of the background fabric as close as possible.


To begin, select a color and separate the strands of the floss (silk). Only one strand is used in this project. Make a waste know as it was described in tHe previous tutorial.


After stitching for about 10 stitches, take the needle behind your work, pull it
and cut it as close to the stitches as possible. DON'T run the needle under the stitches on the back of the fabric!


Keep stitching the design


When it is time to switch the thread, finish the working thread by taking the needle behind your work and running it under through the back of several stitches.

To start a new thread repeat the previous steps


Finish stitching the whole design. I used Continental and Half-Cross stitches.


After the design is complete, remove the tacking.


This is how it looks now


Cut the access of silk gauze around, if any, and start unraveling any waste canvas (silk gauze) that aren't covered by stitches


Then carefully remove the canvas (silk gauze) threads one at a time


Work on the horizontal lines first. This is how it looks like now


Now start working on the vertical lines taking one at a time out.


Phew! We are done! This is the finished stitching after silk gauze, used as a waste canvas, was unraveled.


Now let's make a towel.

I use an air erasable fabric marking pen to make marks for my towel
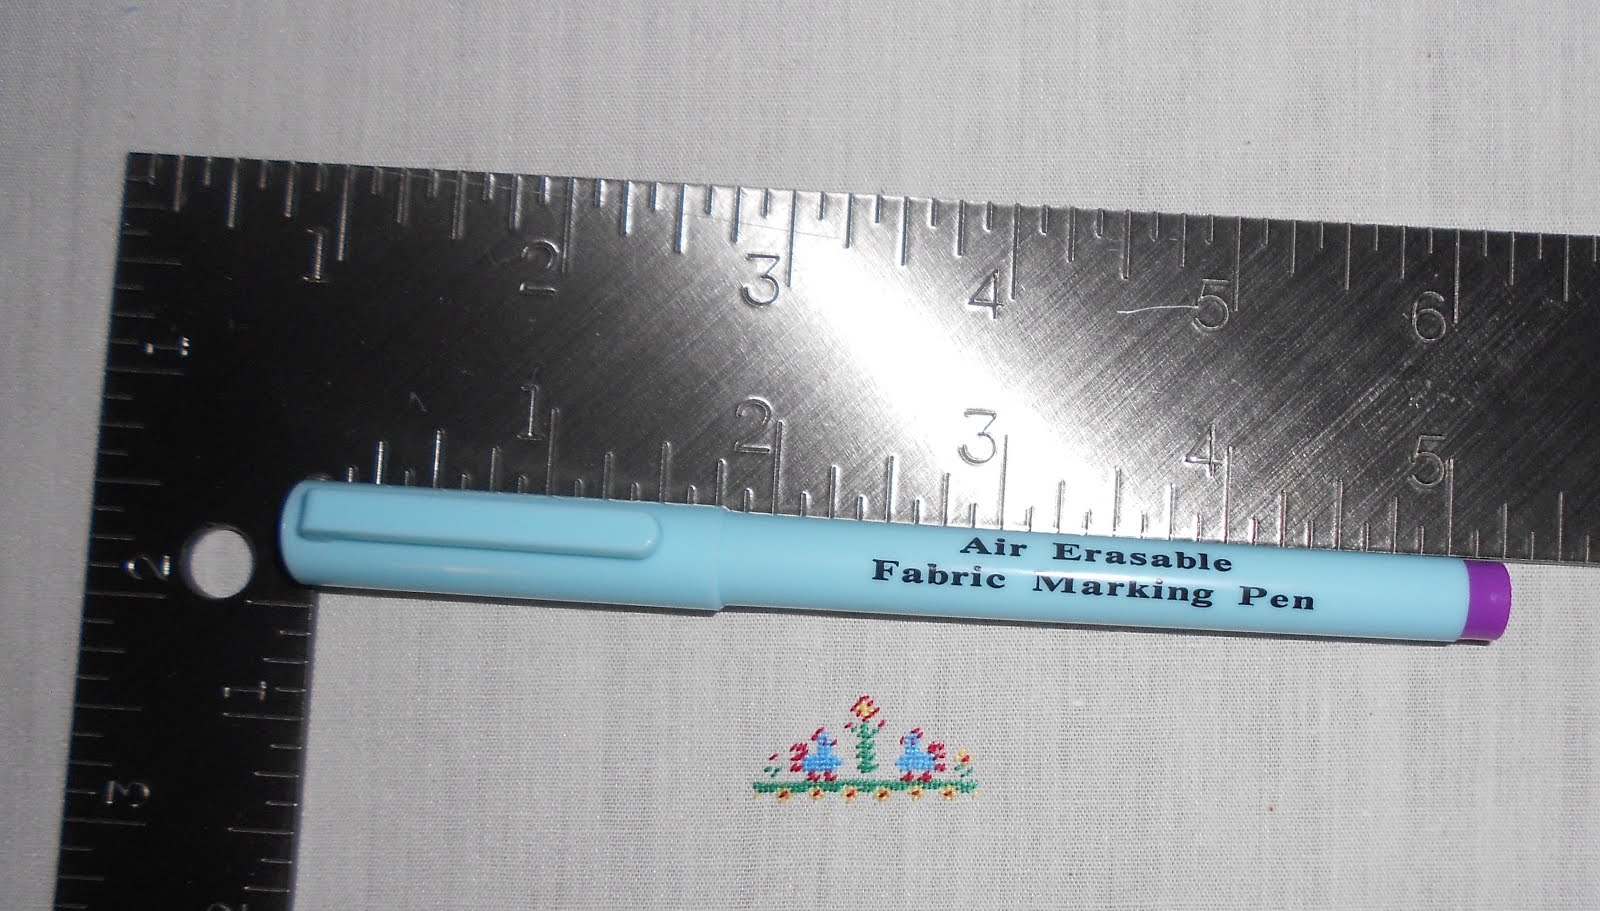

Take the fabric with the stitched design from the frame and iron it. Measure the desired length of your towel approx. 3.5" - 4" (depend on how long you want your towel to be). If the width of your completed towel will be 1", leave a half of inch on the each side.

You see those 4 little dots on the fabric made by the air erasable pen?
Don't worry, they will disappear.


Cut the piece out


Finger press (squeeze with your fingers) both sides of the towel


The edges of both sides should touch each other. Iron it.


Start working on the fringe carefully removing the fabric threads one at a time till you reach the desired length (about 1/4")


This is how the edges of your towel look like now
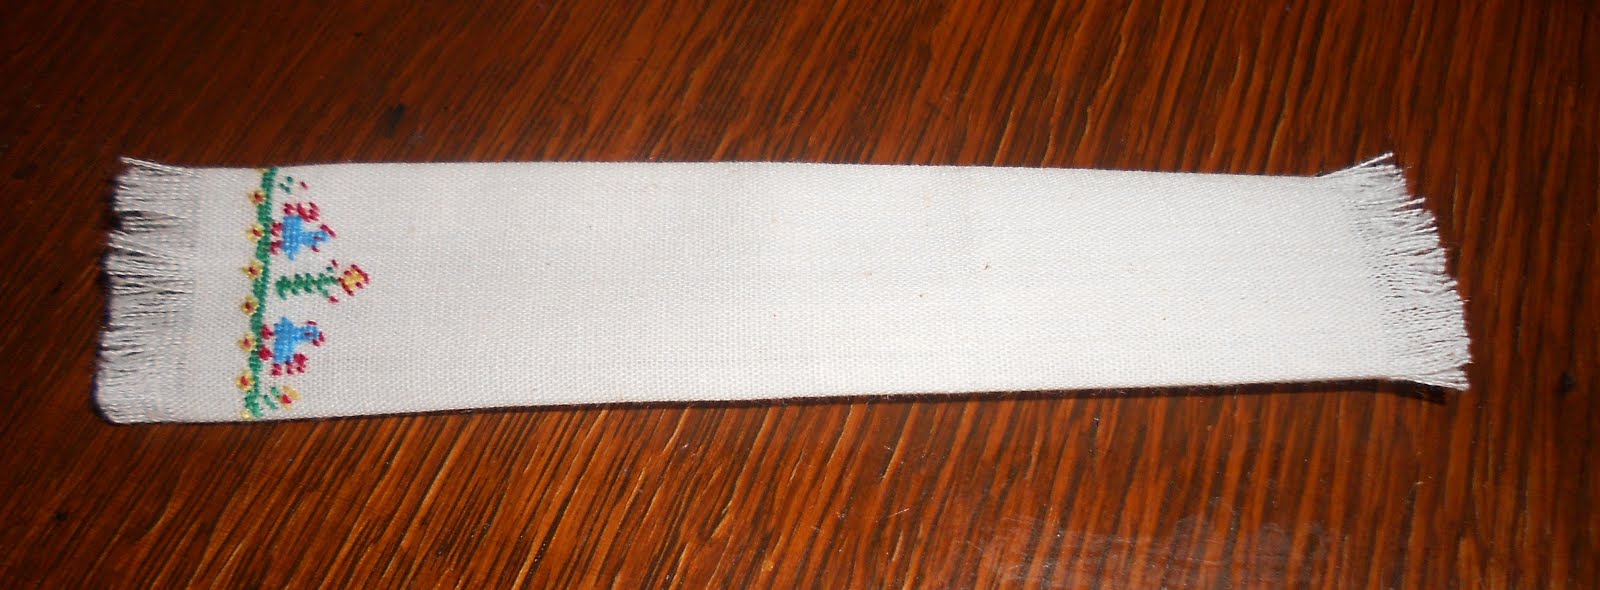

To finish the towel we will use Wonder-under stripe (you can buy it at any fabric store or on-line)


Cut a piece of Wonder-under stripe the length of the towel excluding the fringe, and with paper up iron it in the center of the back of your towel


Pill paper off


Iron each side of the towel to the center. DO NOT TOUCH THE WONDER-UNDER WITH YOUR IRON!


Your towel with fine stitched design is finished


Now you can folded in half or drape it.


For my scene I needed it to be folded


Look at the picture below. Agree that the towel with roosters look finer and closer to the scale!


Happy toweling!

Natalia

Friday, January 18, 2013

Tutorial: Towel with Simple Needlepoint. Part 1.

Today I want to show you how to make a towel with simple needlepoint.


This method can be used to make any towel from any kind of fabric, but since we are talking about needlepoint, our towel will have a little stitched design.

You will need:
1. A piece of 32 count linen
2. A needle
3. Embroidery floss (DMC)
4. Scissors
5. Wonder-Under paper
6. Design
7. Needlework frame
8. Iron

Here is a simple design for using one color of your choice.


Instructions

1. Place a piece of fabric (depends on the size of a towel you are making) in an embroidery hoop.
2. Use 1 strand of the six strand embroidery floss (DMC). Grasp one strand and pull it gently from the remaining strands.
3. Make a waste knot, tie a knot at the end of the thread, insert the needle in the fabric from the front to the back about 2”-3” away from the starting point for the stitching. Your knot will be on the front of the fabric. After about 10 stitches have been made, cut off the knot.
4. To finish a thread, run the needle under 5-6 stitches on the back of the fabric, pull the thread through, and cut close to work. I never use this method when I work on my rugs, pillows, etc… In this project we use only one thread and it is only one way you can finish the thread.
5. In this project we will use a Half-Cross Stitch. The reason is that the design is small and requires only one thread and it doesn't provide as much coverage as a Continental stitch does, and as a result it takes less of thread.


6. After you are done stitching, take your stitched piece off the frame.
7. Measure the desirable size of the towel.
8. Place the towel face down and iron it flat. Center the Wonder-Under, rough side down and paper side up, over the back side of the stitched design, and iron it to the fabric.
9. Finger press both sides of the towel, it makes the next fold easier.
10. When the fold is perfect, iron it. Open the fold and remove the paper from the Wonder-under. Refold and iron it again.
11. Your towel is done.

Enjoy it.


Tuesday, January 15, 2013

Dollhouse Miniature Blue Aubusson Rug in 1/12th scale

Dollhouse Miniature Blue Aubusson Rug in 1/12th scale is completely finished


and available as a pattern and as a kit on my Etsy.com/ScarletSails store.

Happy stitching,
Natalia

Saturday, January 12, 2013

Dollhouse Miniature Area Rug SONET


For my January project I will start stitching my new rug I designed for the 22 count and it will measure approx. 5" x 7".

My new design for the Dollhouse miniature Area Rug "Sonet"


If you would like to join me in the process of stitching, the kits for this rug are available at my Etsy store that you can find on the right-hand side bar.

THE KIT CONTAINS EVERYTHING TO FINISH THE PROJECT:

- 22 COUNT ETAMINE CANVAS
- NEEDLE
- DMC FLOSS
- PATTERN WITH COLOR SYMBOLS ON SEVERAL PAGES
- INSTRUCTIONS

THE SIZE OF A FINISHED RUG

5.41 inches X 7.23 inches

13.74 X 18.36 CM

119 X 159 STITCHES


Happy stitching!

Natalia

Friday, January 11, 2013

DOLLHOUSE MINIATURE BLUE AUBUSSON RUG - DAY 8, 9, 10

It took me 3 more days to finish stitching Dollhouse Miniature Blue Aubusson rug in 1/12th scale.


Now I will block it and after it dries I will finish the edges and show you the completely finished rug.

Happy stitching!

Natalia

Thursday, January 10, 2013

What a Surprise! and Talking About UFO's

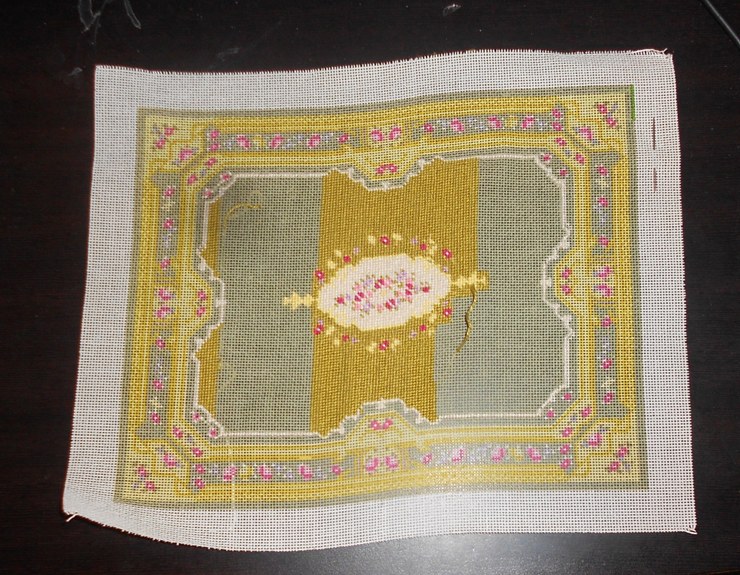
Do you remember this rug?


I started working on it last summer? fall? See, I almost forgot about it!

Then my sweetheart and I went for the business trip and I forgot the rug at the hotel.
Somebody left an advice in the comment to contact the hotel and ask them to ship it to my address. I did and have never heard back from them.

Oh what a surprise! I've got the rug today in my mailbox!

I guess this is my UFO I have to finish in January!

Have a creative Thursday!
Natalia

Tuesday, January 1, 2013

New 2013 Year Resolutions!


New 2013 Year Resolutions!


PROCRASTINATION IS OPPORTUNITY'S ASSASSIN

I do make resolutions, and I do make them each year, each month. Do I follow them? Sometimes I do, sometimes I don’t. Sometimes life can be unpredictable and what you plan to accomplish doesn’t always fit the current period of time. Anyway, it helps me to organize myself and keep my ideas and thoughts straight.

I should admit that the range of my interests has been expended widely. There are a lot of different skills appeared on the horizon that I would love to learn, and as a result to implement them in my new designs that are already ”boiling” in my mind. It comes to the miniature world and to the real life as well.

Plan game for 2013:

1. Buy a house. Yes, my friends, my sweetheart and I decided IT IS TIME! We have already stepped in the process of combined feelings and emotions of aggravation and sweet excitement. Decisions, decisions…

2. I am planning a trip next summer that is related to the miniatures. More about it later.

3. I would like to attend as a dealer at least 2 Dollhouse Miniature shows this year.

4. I have a lot of UFO projects that needs to be finished. Do I promise myself not to start a new one while the old is completed? Of course, NOT! Why should I limit myself with pleasure of excitement bringing a new idea to the life? But… I need to organize my time the way that each month I finish 1 UFO project + 1 new. It means I need to come to the end of 2013 year with 24 completed projects (whatever it comes to the miniatures or real life projects).

5. I joined the Crazy Quilt 2013 Challenge http://cqjp2013.blogspot.com/. Each month I have to finish 1 CQ block. I have already developed the idea, purchased all necessary supplies and ready to finish my first block. While I am working on my Crazy Quilt blocks, I am learning new stitches and it smoothly brings me to another 2013 resolution:

6. Develop my own Stitch Guide with samples of stitches for easy reference and use. I would love to have each family stitches developed each month. Can’t promise that, it is a lot of work, but will try my best.

7. I will keep working on already started course of Needletherapy in Miniatures Tutorials and develop at least 2-3 tutorials each month.

8. If you follow my blog, you remember I started a new one that is called New Me and devoted completely to my next 2013 resolution: to be more active physically. Last December I started to work on a new program Couch5K. I was on my Week 1 Day 2 and went to the local Fish Lake Tail for running. While I was on my next 90 seconds of jogging, suddenly I felt sharp pain in my right hip joints and couldn't complete the task. I was lucky my Sweetheart was with me. He helped me to limb to the car. Last 3 weeks I spent in the bed in pain. It explains my absence in the Blogger land and not posting on all my blogs. My apology to everyone whose e-mails were not answered in time.
Anyway, after some treatments, I am back, still with a little but adjustable pain and ready to keep working on my modified fitness plan. I don’t give up!

9. I want to learn sculpting the dolls! BADLY! Hopefully, to the end of the next 2013 year, I will sculpt at least 1 doll that I will be 100% satisfied!

What about you? Do you have something exciting to start this year?

Happy New January!

Natalia,
taking off to see a new house...

LinkWithin

Related Posts Plugin for WordPress, Blogger...