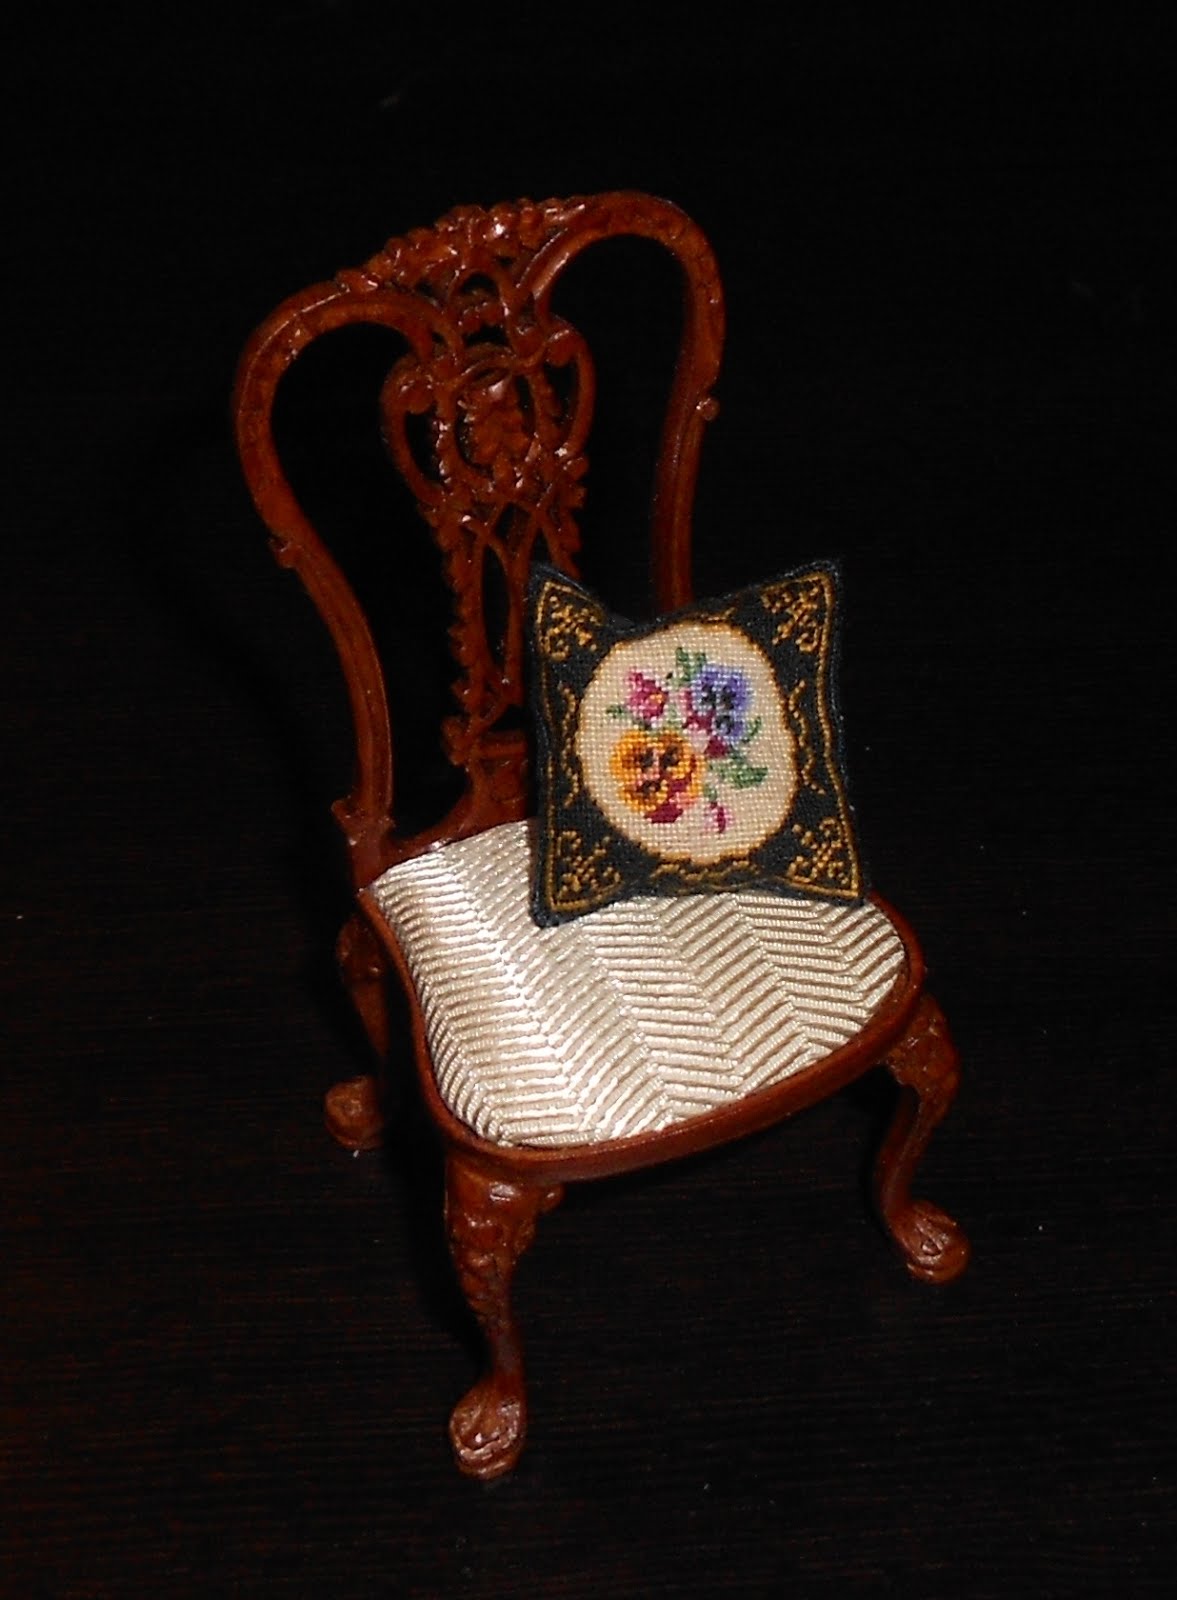
TUTORIALS NEEDLETHERAPY IN MINIATURE

Part 3.1. Silk Gauze
Today we will talk about silk gauze and how to prepare it for the work.
Silk gauze is sold as cut pieces of different sizes or as framed pieces.
It is very comfortable to use framed silk gauze, especially if you work on a small project like a pillow, or a Christmas stocking, or a purse, etc… After you are done stitching, the same frame can be used up to 4-5 times. We will talk about how to mount your silk gauze on the frame later.
Today I will show you how to prepare unframed pieces of silk gauze for stitching.
First of all, you have to decide what size of silk gauze you need for your project. Then, you need to add at least ½” to all 4 sides of your piece of silk gauze. For instance, if you stitch a rug finished size of which is 5” x 7”, you need to cut a piece of silk gauze 5 ½” x 7 ½”. Many sources recommend to add 1” to each side. You can add 1” to each side, if it makes you feel more comfortable.
I will show you the method that I use. This method is fast and for those who is as lazy as I am. Дешево и сердито, ))
Take a piece of fabric of the size bigger than the frame you are planning to use (the size of the frame also depends on the size of your project).
Find the center on the piece of fabric and the piece of silk gauze. Connect them together by sawing. I find using the sewing machine is more helpful.
This is the front side.

This is the back side and this is the side we are going to work with.

Do a little cut on fabric with your sharp scissors, but be careful not to cut through the silk gauze.

Then cut out the piece of fabric leaving approximately ½” of fabric from the edges.


After you are done, make little cuts on each corner leaving some fabric to protect the corners.

Turn it and attach to the fabric using your sewing machine.

This is how it looks like now.

Frame it.

Now you can trim the edges of the fabric.

If you don’t like this way of preparing your silk gauze, here is another one, similar to the first.
Find a piece of fabric and cut 4 even stripes of the size that after being attached to the piece of silk gauze, it will fit your frame.
I won’t describe this method, just look at the pictures, please.


Advice: never frame a piece of silk gauze itself! First of all it is wasting of silk gauze. Second reason - distortion will occur.
to be continued...

Part 3.1. Silk Gauze
Today we will talk about silk gauze and how to prepare it for the work.
Silk gauze is sold as cut pieces of different sizes or as framed pieces.
It is very comfortable to use framed silk gauze, especially if you work on a small project like a pillow, or a Christmas stocking, or a purse, etc… After you are done stitching, the same frame can be used up to 4-5 times. We will talk about how to mount your silk gauze on the frame later.
Today I will show you how to prepare unframed pieces of silk gauze for stitching.
First of all, you have to decide what size of silk gauze you need for your project. Then, you need to add at least ½” to all 4 sides of your piece of silk gauze. For instance, if you stitch a rug finished size of which is 5” x 7”, you need to cut a piece of silk gauze 5 ½” x 7 ½”. Many sources recommend to add 1” to each side. You can add 1” to each side, if it makes you feel more comfortable.
I will show you the method that I use. This method is fast and for those who is as lazy as I am. Дешево и сердито, ))
Take a piece of fabric of the size bigger than the frame you are planning to use (the size of the frame also depends on the size of your project).
Find the center on the piece of fabric and the piece of silk gauze. Connect them together by sawing. I find using the sewing machine is more helpful.
This is the front side.

This is the back side and this is the side we are going to work with.

Do a little cut on fabric with your sharp scissors, but be careful not to cut through the silk gauze.

Then cut out the piece of fabric leaving approximately ½” of fabric from the edges.


After you are done, make little cuts on each corner leaving some fabric to protect the corners.

Turn it and attach to the fabric using your sewing machine.

This is how it looks like now.

Frame it.

Now you can trim the edges of the fabric.

If you don’t like this way of preparing your silk gauze, here is another one, similar to the first.
Find a piece of fabric and cut 4 even stripes of the size that after being attached to the piece of silk gauze, it will fit your frame.
I won’t describe this method, just look at the pictures, please.


Advice: never frame a piece of silk gauze itself! First of all it is wasting of silk gauze. Second reason - distortion will occur.
to be continued...